Wednesday, February 27, 2013

Moisture Time: La Roche Posche Effaclar H, Vichy Eau Thermal Spray and more!

Goodmorning everyone!

I don't know about you...but first thing I do when I wake up in the morning is to wash my face. And of course after that, you have to moisturize! So, that is what we are going to talk about today! 


 Moisture is the key to a glowy, healthy, young face. I personally have really sensitive skin. Since I am quite pale, I have to deal with redness. I am also oily in the T-zone and dry all around. So I have to be super careful.
    For about a month and a half, I've been using La Roche Posay Effaclar H morning and night after my cleanser. I found that is amazing for colder months. The cool thing about this is that it's very rich in water. So, that makes it very moisturizing for my dry areas but not oily and sticky for my T-zone. It is also soothing, so it doesn't irritate my redness or a possible pimple. And of course as it's very rich in water, it is super beneficial for acne marks that are in the process of fading! As far as the packaging, it's quite handy as it comes in a simple tube with 40ml. It doesn't have a smell or if it does it's so light that i don't even notice. The price is ok, (14euro) as most moisturizer from the pharmacy. The only thing that may be a downside is that I don't think it would be perfect for the summer. As we all get more oily this time of the year, i would search for a more mattifying moisturizer. I don't wear a lot of make up in the summer, so i want the moisturizer to be invisible. If you live like me in a country that still has winter weather, make sure to check this moisturizer. Otherwise, keep it as a good recommendation for next winter.

LA ROCHE-POSAY EFFACLAR H MOISTURIZER

 In between my morning and night routine, I use the Vichy eau thermale spa water spray. I've used similar once in the past and i found that is the most soothing and hypo-allergic one. Five months ago, i had an allergy on a cream that my dermatologist recommended and this water was the only thing that i used back then until the redness got away. Don't be afraid to use it. It is not going to break you out as it is very gentle. It is also 100% natural which is incredable as most products reach only 97% or 98%. The minute you spray this, your skin absorbs it. It feels really refreshing and light and you can spray this as many times as you want. I have it in the small size 50g as it was in a gift bag but it comes also in a bigger one in 150ml. The price is about 9euro for 150ml, but you can find it cheaper online. I would definitely check this out!

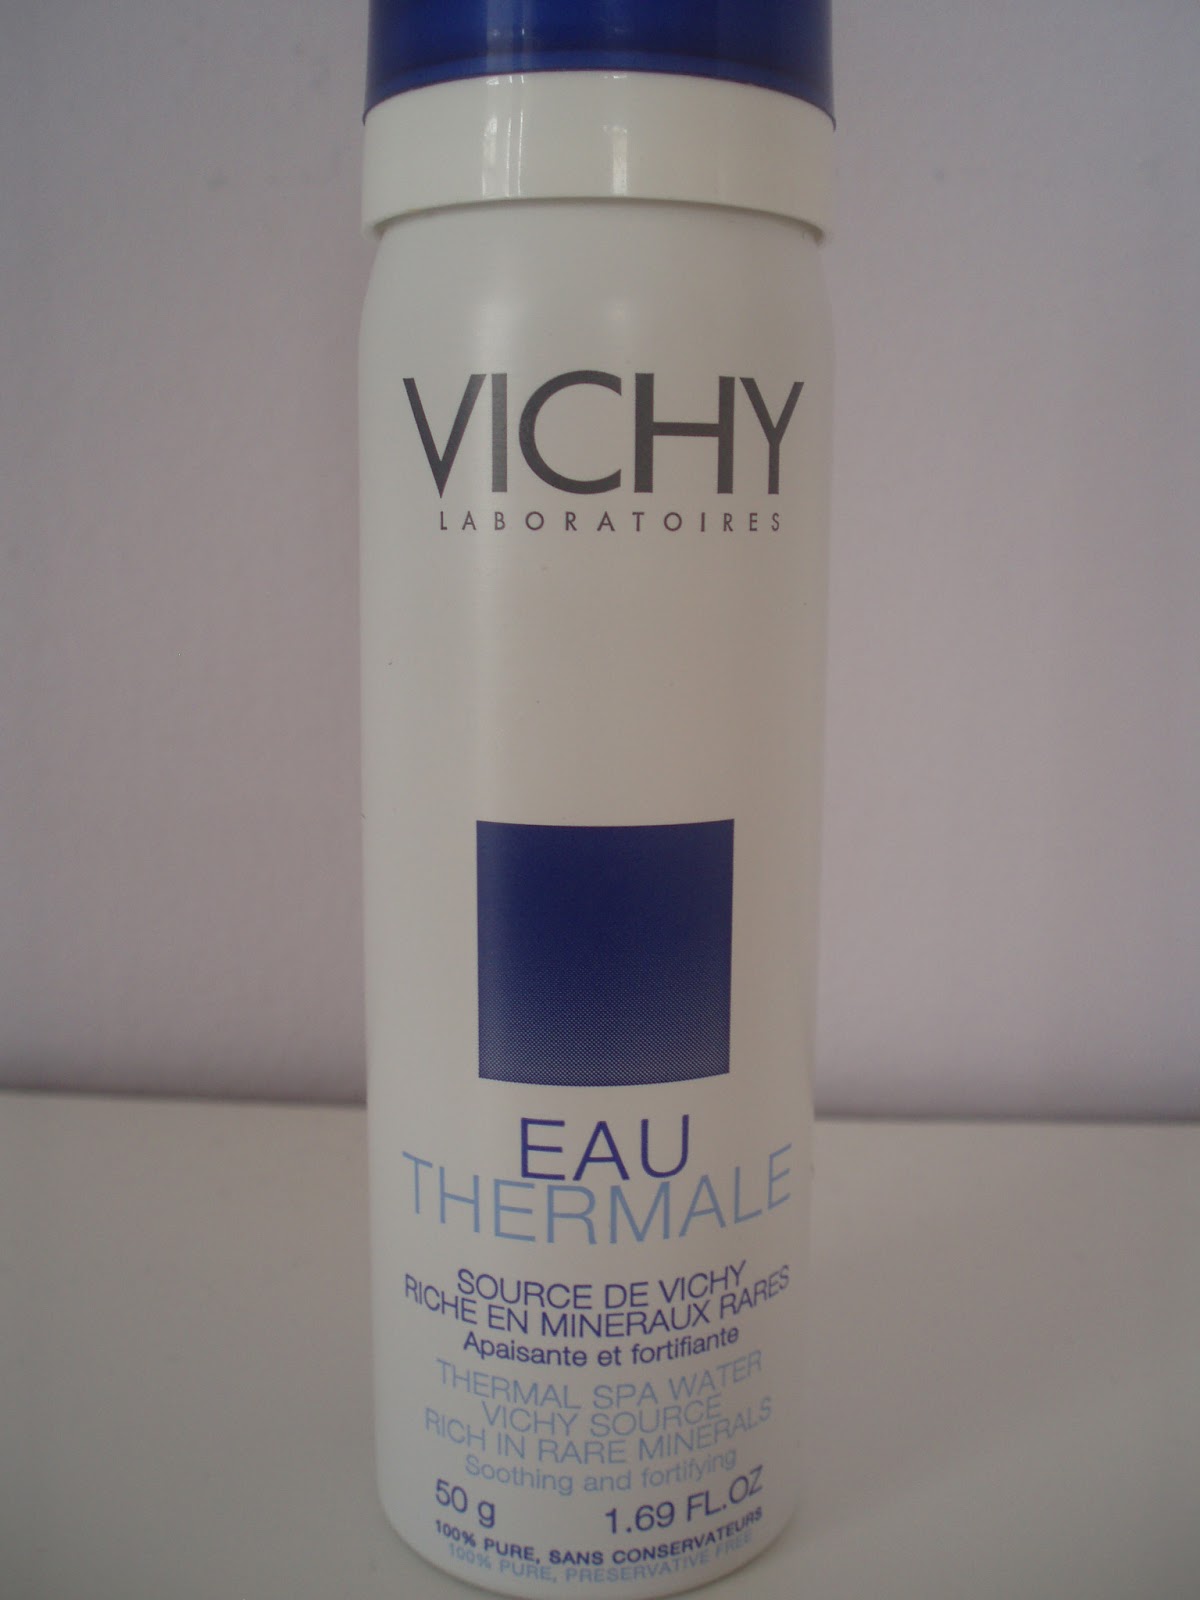
VICHY EAU THERMALE SPA WATER SPRAY 50g


  For the areas that are super duper dry....like around my nose or if you have a dry patch i use Psysiogel A.I cream. It's great for flaky itchy dry areas!

PHYSIOGEL HYPOALLERGIC A.I. CREAM

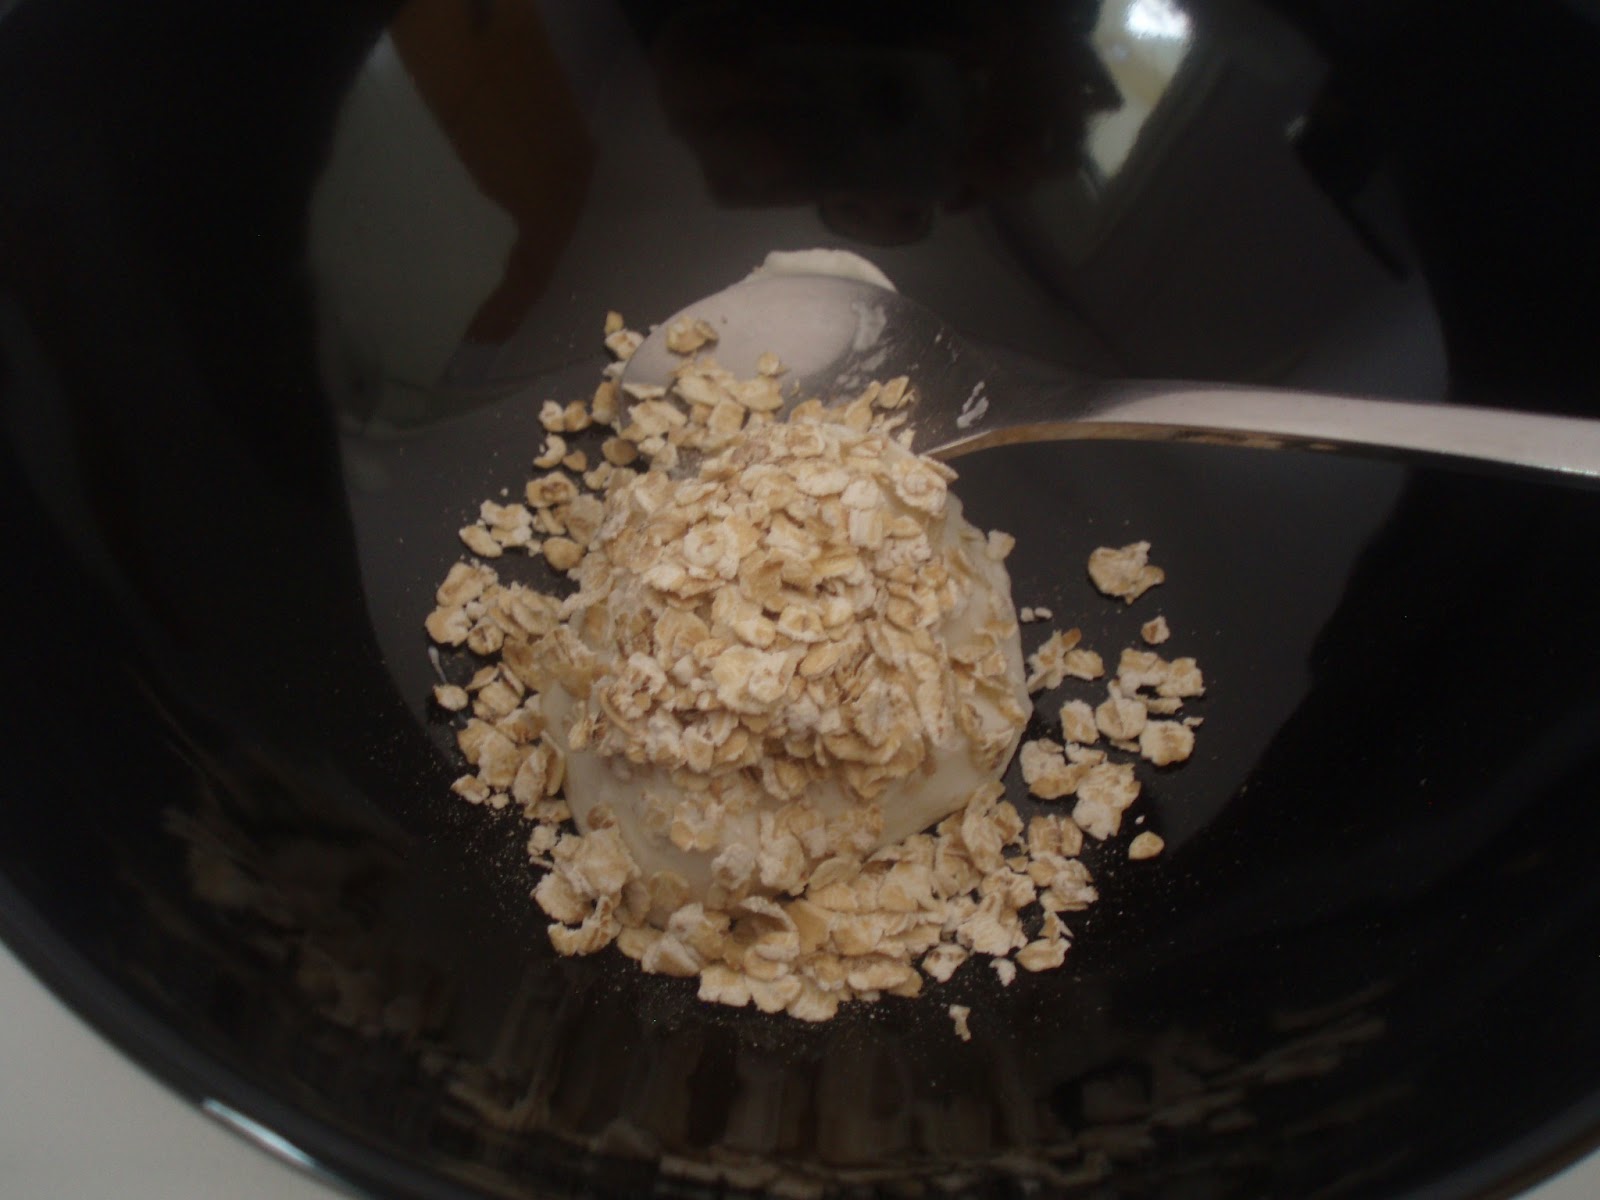
  Last but not least, about two times a week, i use a moisturizing home made mask for moisture and gentle scrub the same time. I talked about this one in a previous blog post

And that's all for today! I hope this was helpful to you!
Be sure to follow me on the sidebar and thanks for checking!
Have a nice rest of the day!


Link to the face mask (full details):  http://personatalist.blogspot.gr/2013/02/relaxing-bath-diy-face-mask.html

Saturday, February 23, 2013

Relaxing Bath + DIY face mask

Hello everyone!!

Today is one of those days that is too cold and rainy outside to go anywhere. The best solution is to stay inside...warm and cozy! A bubble bath, a facial and a nice book is all i need!
So let's get started into the "relaxing project"!


First thing i do is fill my bath tub with warm water. Light some candles...my favorite right now is cranberry ice from Yankee Candles. Then, put your choice of bubble bath and salts or oils into the tub. I used my Sephora Bubble bath in Toffee and the same little fizzing cubes and made my bath super relaxing and wintery...as the smell of caramel is the best for winter!!  It reminds me soo much of some toffee caramels that i used to eat when i was a child! I also use the same body scrub and lotion just because combining them together makes the smell even more intense!You can get a magazine or the book that you have just started reading and enjoy it while having your bath. 


Sephora-toffee bubble bath
& shower gel
and 2 fizzing cubes


Sephora moisturizing body lotion
in toffee and smoothing body scrub


After i have my bath i like to put whatever hair products i currently use and live them for about half an hour in the towel. In the meantime, i am making my favorite face mask! For this, i use a spoon, a bowl, some yogurt and some oatmeal. 

yogurt, oatmeal, a bowl and a spoon


 Take one small scoop of yogurt and one of oatmeal and mix them together into the bowl.


use one scoop of yogurt


use one scoop of oatmeal

mix them together


Your mask is ready! I find that this is amazing for all skin types. The yogurt gives you moisture and the oatmeal works as a very gentle scrub for sensitive skin. I find that home made scrubs with sugar are too harsh for my skin so i choose this one instead. Put the mask on your face and let it for about 15 minutes. The mask itself makes a really nice snack with some bananas or raspberries chopped in!!  

While waiting for the mask, you can pumper a little bit more yourself by moisturizing your body too. I use the moisturizing lotion that has the same smell like the other Sephora products i used. I usually don't like Sephora lotions or body butters as they are really heavy for my skin and live a residue behind. However, this one has a pump that controls the amount i use and my skin absorbs it  in a few minutes. I am super happy with it and the smell is...yummy!!! Of course it comes in several other smells if you don't like toffee.

 Now is time to take off our masks! Use semi warm water to massage it in a little bit before taking it off. This way it works like a gentle scrub. After that, rinse it off and use your daily moisturizer to give your skin a nice moisture! Blow dry your hair and make a nice warm herbal tea! I am drinking my favorite pomegranate tea! You are ready to continue your reading.....probably by the fireplace! So what if outside is raining??


Have a nice rest of the weekend and thanks for checking!

Monday, February 18, 2013

Review: Maybelline master precise liquid eyeliner


Hi everybody!
I woke up this morning and as i was doing my makeup i searched for my Maybelline master precise liquid eyeliner. I realized i HAVE to make a review about this cause i love it so much! 
It comes in a plane packaging and the color i have is noir-black. It's very handy and you can use it on the go. I carry this in my bag if i go for a coffee after university or work and need a bit of makeup. It is super light and thin. The color is quite dark. I'm sure you can find a darker...like the mac fluidline in blacktrack or the bobby brown gel. However, this one gives enough color in comparison to other liquid ones. The thing that makes it so special for me is the super pointy and precise brush that it has. Only 0.4mm guys! That is almost science!! Also the kinda wet look it gives! The only downside that it has is that it doesn't last more than 10 hours. I don't mind though cause usually i don't have to wear makeup for that many hours. I love it on its one without any eyeshadow. Combining it with a BB cream, a little bronzer and some red lipstick is my super quick but cool makeup for the month of February! 

Below i have a bunch of  pictures for you:


Maybelline master precise liquid eyeliner


photo without the lid

brush


super fine pointy tip

color: noir - black 


swatch on the right: thin line
swatch on the left: thicker line
I hope this was helpful to you!
Be sure to subscribe and leave a comment down below for any further question!


Have a nice rest of the day!


Tuesday, February 12, 2013

Valentine's Day nail idea!!


Hi everyone!
Valentine's day is just around the corner and i am soooo excited!!! Today i have a post with lots of ideas for you, on how to do your nails for V-day! I decided to give you multiple ways to do this.
So, let's start!


You will need a parchment paper, tape, any color of nail polish you prefer, glitter, a top coat and some scissors.


First, take the paper and use the scissors to cut it in little squares. They don't have to be exactly straight.


You must end up with a couple more than 10 squares. Each one for every nail and some spare ones just in case.


 Then, fold every square into half just like in the picture below.


 Draw half a heart with a pencil.

Cut the heart off and there you have your own stencil!!

Start of with bare nails and pick whatever nail polish you want to paint all your nails. Then use the stencil to paint the hearts with another nail color.
Secure the stencil with some tape before painting the heart.


So here are the looks that i made!


 1. Girly sparkle!
For a more girly look on valentine's, i painted my friend's nails with a silver sparkly color and then made the hearts hot pink. For the ring finger i decided to make something more unique. So i just painted her nail with some top coat and i sprinkled some silver glitter.


Put some top coat on the top and you are ready!

This is the finished look!


These are the nail polishes and the glitter that i used. You can choose any hot pink and silver that you already have!


Korres-pomegranate(No14) and Nails inc-abbey road


2. Classic valentine


For those of you that want something more classic with the usual red hearts...... i have this look. I painted my other friend's nails with a basic nude beige nail polish and i made the hearts red. For the ring finger i went with some sparkly red glitter as i did at the first look!


You can play with it and use it as inspiration. For example, you can paint all your nails beige and then put only on your ring finger red glitter.


For this look i used Revlon's Gray suede and for the red shimmery color i selected Jet' aim from H&M, but i'm sure any other red color would do! For the ring finger  i used chunky red glitter.

Revlon-gray suede and H&H-jet'aim (Christmas collection)


3. Pastel rainbow

After doing my friends' nails i decided to do mine too! I went for a more alternative look for those of you that don't like either pink nor red!
 I painted all my nails with a minty nail polish and then added a couple of pastel hearts in every nail. For the hearts i picked a peachy color and a lilac one.


 Here is a picture of the nail polishes that i chose.

Orly-jealous, much? , Sally Hansen-peach of cake,  essence-dress for a moment
A really good dupe for orly jealous much is essence you belong to me, although it's a bit more on the blue side.

*For all the three looks i used my favorite top coat to make it last till valentine's day....
Sally Hansen Insta-Dri     anti-chip top coat


I hope this post was helpful for you and gave you enough inspiration! I had a great time with my friends making our nails! If you don't have a valentine....it's ok! You can always have some fun time with your friends like we did!!


Thanks so much for checking!!
Be sure to follow me for more fun things like that!  
Subscribe on the sidebar!

Thursday, February 7, 2013

Review: YSL Touche eclat foundation

Hey everyone!!

Today i have another review for you....Everyone in the beauty community has been talking about Ysl touche eclat. It's mostly a love product although it's kind of pricy!
So let's get ahead and jump into the real stuff...
First of all the packaging is really nice and put together. The bottle is simple but you can tell it is a high end product from far! However, the heavy bottle might be not as good if you have to pack for a trip. It comes with a pump, so you can control the amount of product you want. The foundation itself is quite liquidy and in the beginning it seems like its not gonna cover anything. It is very easy to blend and that makes it very natural on the skin. That is a huge plus for me! Cakey foundations are really hard to work with, especially now that  it's still winter! It actually gives a really dewy, glowy effect, almost highlighting your face! If you have oily skin like me, be sure to wear a powder on the top to make it last a little bit more.If you want more coverage you can always built it up but it's definitely not a full coverage foundation.I would consider this light to medium coverage. I am a B10 but there is a good number of colors, varying from country to country.


Below i have some pictures for you:


the bottle


the pump


one pump


blending....

blending.....

done blending!

close up photo


All the pictures are taken in natural light.
A really light everyday natural foundation that i would recommend. If you are afraid of making you look oily test it out first or be sure to have a really nice powder. Set only your t-zone so that you don't loose the duwe effect that makes it so natural!


Thanks for checking
Be sure to follow me for more!!!

Have a lovely Friday!